Hunting Wall Tent

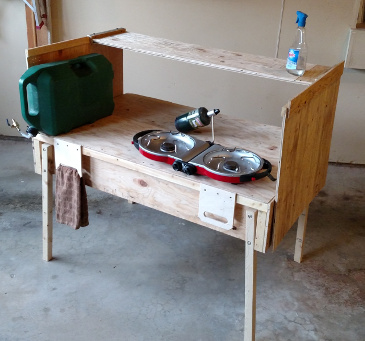
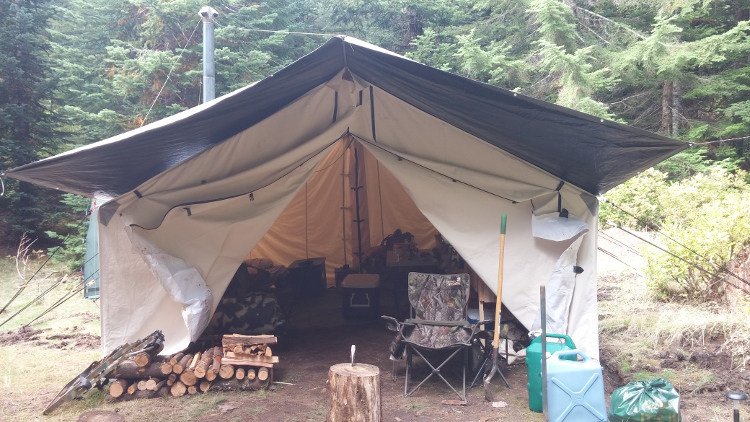
Being the tech geek that I am I started my search for a wall tent using the internet and settled for a company out of Idaho. For $1700.00 plus or minus a few dollars I had a 14’ x 16’ canvas tent. It came with a front and back zippered doors and a large 2x2 screened and storm flapped window on either side. Yes I had to cut the steel frame but I much preferred that to paying for the shipping. I purchased a tarp large enough to provide rain protection and I was ready for the woods. Over the past several years I have added a few must have items like a DIY wood stove that I made from an air compressor tank. A DIY clothes rack made from PVC pipe. I’ve made enough of the rack to completely surround the exterior of the tent. Even so it always seems like we are one peg short to hang something up. To store the tent I made a crate that when you unfold it makes a fabulous cooking station complete with steel legs and a towel rack. It really is a very comfortable environment. I lay a tarp down on the half of the tent that functions as our sleeping quarters but the other half remains dirt so no one feels compelled to have to take their shoes off. With all that I’m relatively sure I have less than $2500.00 in the whole set up and it stores for free neatly in my garage for 50 weeks out of the year.

Here are a few of the additions I've made for the tent:
Check out the DIY listing for links to more descriptions about each item.

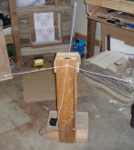
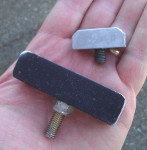
Feet for the bottom of the poles. You can buy rubber ones from the tent manufacturer but these caps were about 50 cents at home deport and the short piece of pipe that functions as a sleeve was scrap. They stop the poles from damaging rain flap on the bottom of the tent.

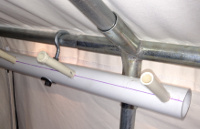
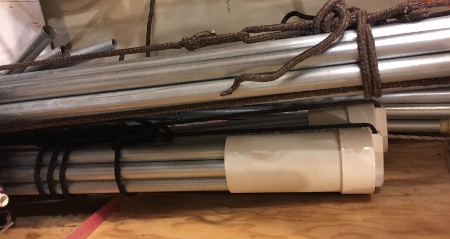
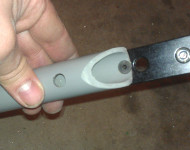
For transporting the poles I made some caps that hold the poles together in a neat bundle and allows me to load them up on the truck quickly and easily. Makes storage in the garage a bit less problematic as well.

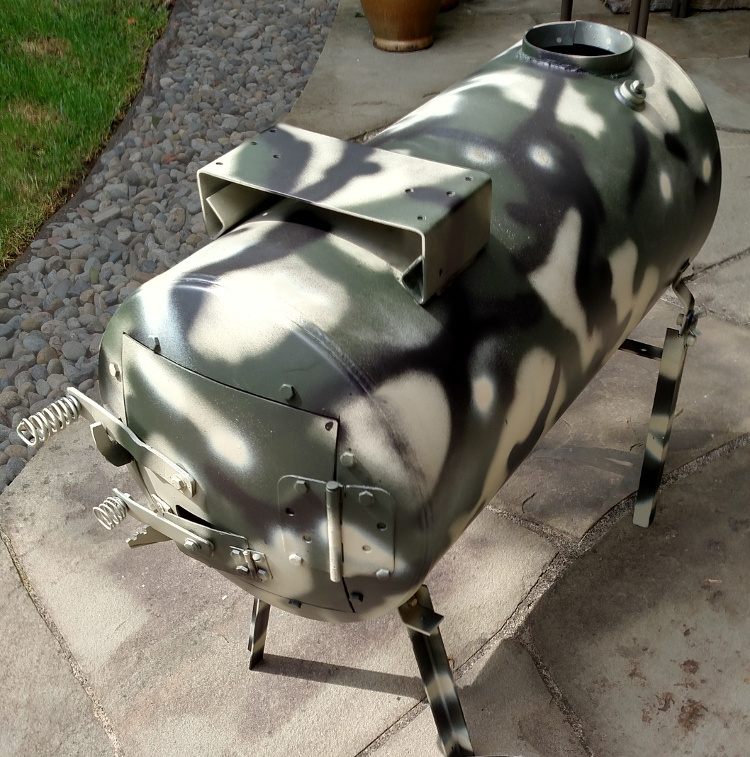
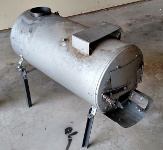
The wood stove is imperative here in the pacific north west where half the available public land is technically a rain forest. http://www.archerytalk.com/vb/showthread.php?t=2626554

Along with the stove I made these handy hanging racks that hold your bow and wet clothes securely and cleaning off the ground.

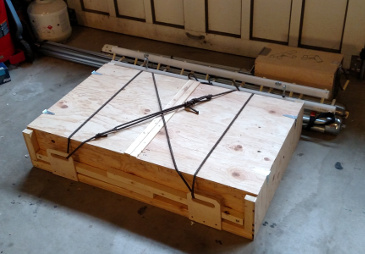
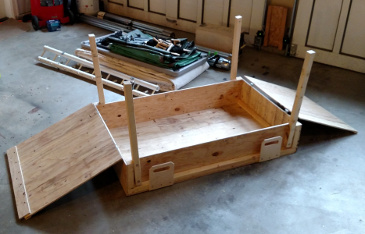
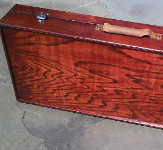
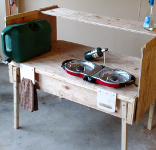
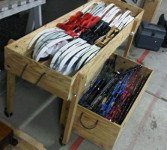
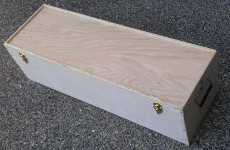
I needed a crate to store the tent during those long excruciating periods when it isn't actually hunting season. I also needed a table to use as a cooking prep area. seemed like a logical progression to kill two birds with one stone and make the crates work to solve both requirements.

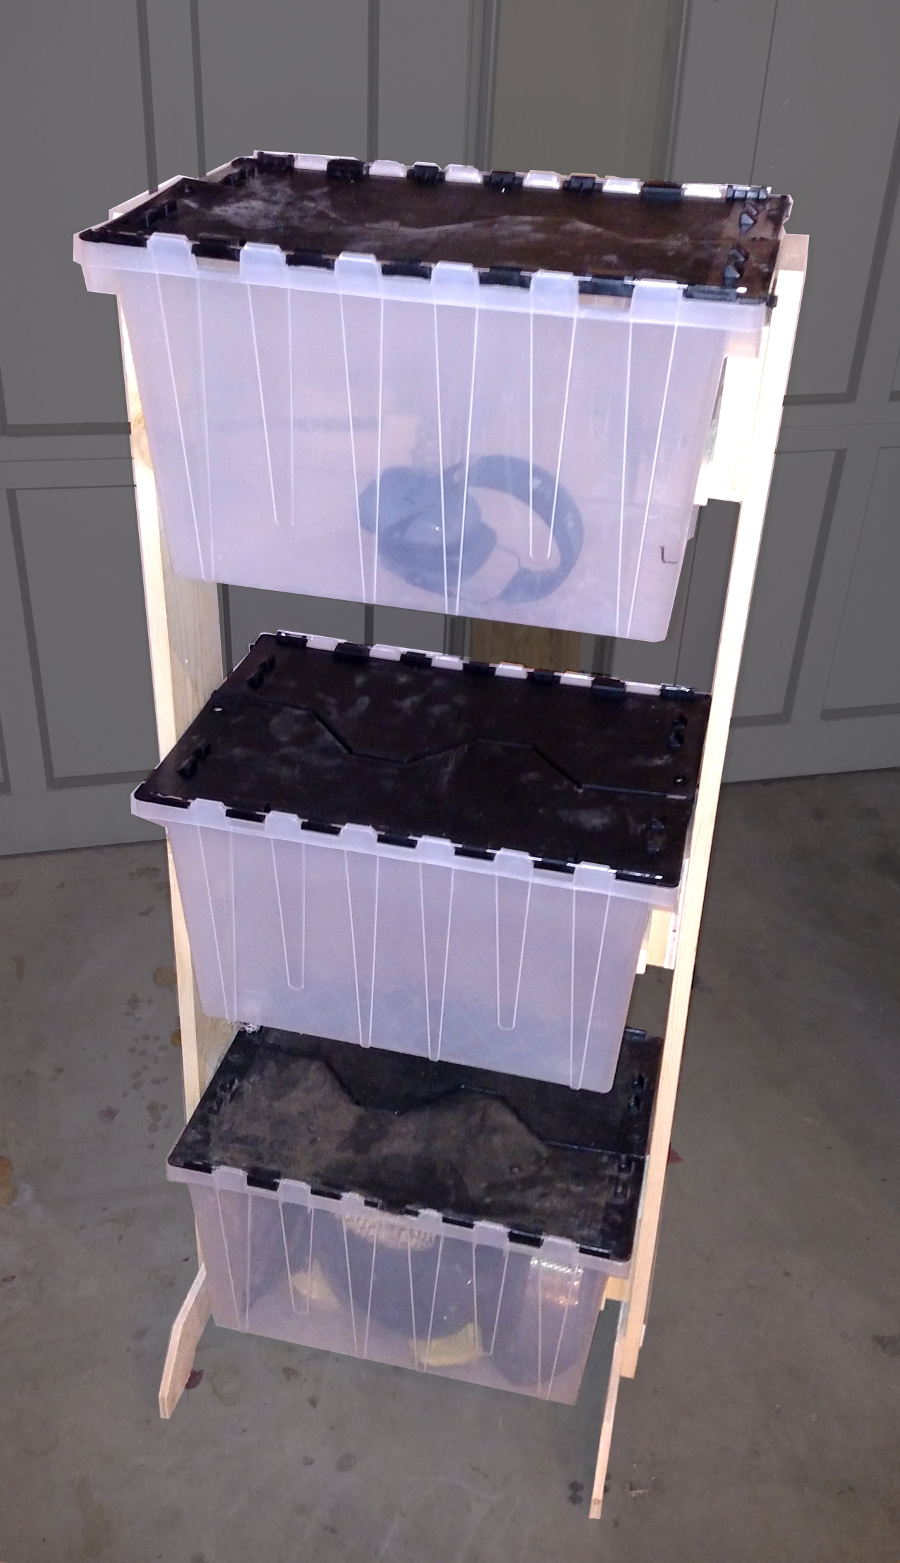
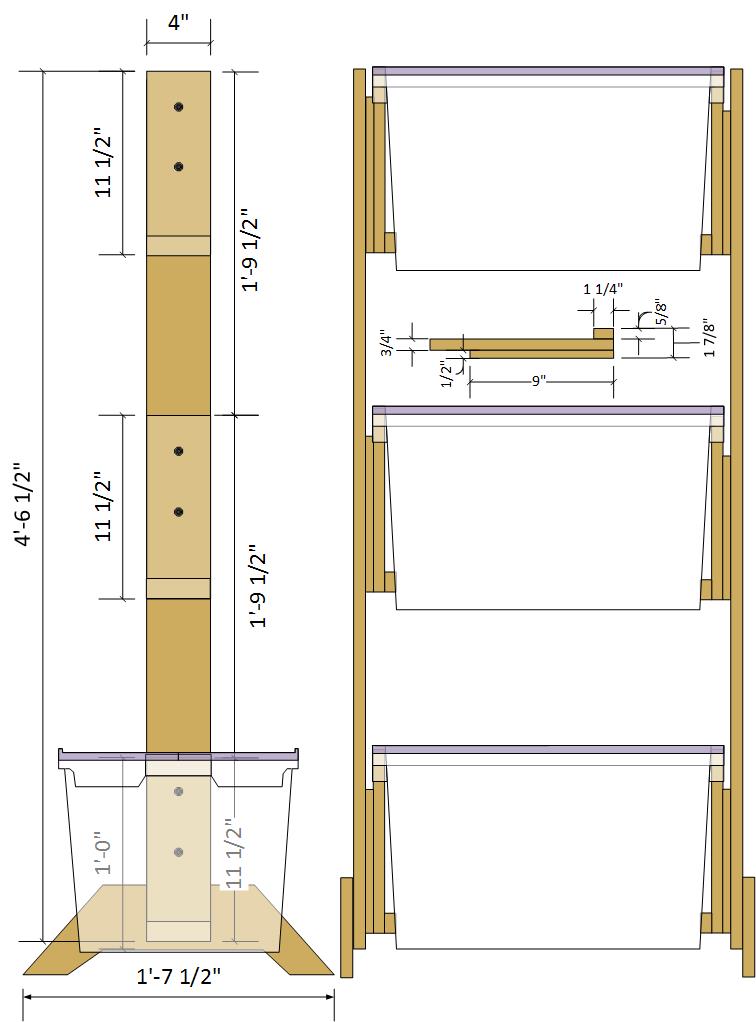
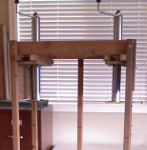
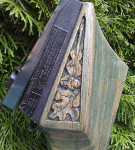
The redneck Armoire, allows me to pack my gear in boxes and still have easy access without taking up a lot of floor space. It is remarkably stable for something that packs completely flat.
http://www.archerytalk.com/vb/showthread.php?t=4790753

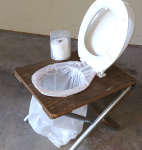
This last item (and probably the least) is a bit crappy but certainly necessary. It's my fold up toilet seat. Please note it even comes with a flush handle :-)
http://www.archerytalk.com/vb/showthread.php?t=2510786

Fletching glue trouble shooter

I see a lot of questions on Archery talk about what fletching glue to use and what works best bla bla bla. Then the next question is "They aren't sticking very well what went wrong?"

First Answer the glue that works best is the glue that works best for you. OK, I agree that is an asinine answer and I apologize but the truth of the matter is that there are a lot of glues that will work. I would encourage you to try several because you may prefer the properties of one over another. I personally have always used the Bohning Platinum Fletch-Tite glue. It is a slow drying flexible glue that I find adheres to the vanes really well and tends to absorb impacts reasonably well. A lot of people swear by the super glue products so I will assume they work well too. Gorilla super glue the Lucite Gel super glue… and so on.

With any glue the surface preparation is the secret to getting it to stick well. Vanes are a molded plastic and the process of molding the vanes a release agent is applied to the mold. This helps increase the manufacturing speed and reduce molding errors. That release agent is created for the sole purpose of preventing sticky things from sticking. Sooooo… you need to get it off the vanes to ensure proper adhesion. I find that a vigorous scrubbing with denatured alcohol (not rubbing alcohol) does an excellent job of removing the release agent. I place the vane in the clamp and then I use a paper towel with a generous squirt of alcohol on it. I don’t reuse the same area of the towel twice. I use significant pressure to ensure I’m mechanically and chemically removing the release agent. Typically I’ll also see color pigment transferred to the towel and this is to be expected. I have never had a problem with vane adherence when I have employed this method. Caution Denatured Alcohol is a volatile chemical that will damage your liver with prolonged exposure so always wear rubber gloves when working with it. A well ventilated area is also a good idea.

The arrow surface also needs to be prepped. Again I use Denatured alcohol and clean each arrow thoroughly. I typically get them squeaky clean. A lot of people swear by using Acetone for the arrows. I believe this to be overkill and exponentially more toxic and smelly. The arrow surface is most often contaminated with the oils from your hands and that is easily removed with the Denatured alcohol so yes after you clean them avoid touching the areas you just cleaned. I have also seen in some cases where budget acetone also has some trace oils in it that leave a residue. Obviously that is counterproductive. I have had some arrows that no matter what I did I just could not get a glue to stick to them I tried acetone, alcohol, Ajax, sandpaper, methyl ethyl ketone… everything, and the vanes just would not stay stuck. This was with only one set of arrows and it is not at all common. In that particular case I resolved the problem by using a vinyl arrow wrap.

Vinyl arrow wraps can be attractive and a great way to customize your arrows. They are very popular and I personally like them better for my arrows. The drawback is that often when you damage or lose a fletch the wrap is also damaged or not cleanable. You’ll have to replace the wrap and the 2 other undamaged fletchings to get the arrow back to 100%. Since I subscribe to the old adage better archery through aggressive spending wraps work great for me. Again vinyl arrow wraps need to be cleaned with denatured alcohol prior to adhering the vanes.

How do I know what went wrong?
There is a simple way to ID what you need to change in your arrow building process. Take a look at both surfaces, the arrow and the fletch after the failure.

• If the glue remains on the arrow and not on the fletch then it is likely you did not clean the fletch well enough. It is possible the glue that you are using won’t stick to the fletching plastic but it is far more likely the problem is related to a cleaning prep problem.

• If the glue is stuck to the vane and not the arrow then you need to clean the arrow better or again find a glue that will stick to the carbon is required.

• If there is glue still stuck to both the fletch and the shaft then it is possible that the glue you are using is actually failing. The glue may not be strong enough to handle the pounding an arrow gets or it could be bad. The age of a glue often affects its effectiveness so ensure you are using glue that isn’t ancient. It is also possible that the particular lot of glue you are using is just plain bad. This is uncommon but possible.

Building your own arrows can be a cost saving endeavor as well as a project you can be proud of. Remember clean clean clean and investigate problems, you’ll soon discover a winning process you can use to build a functional and reliable arrow. Have fun and shoot straight.

Important Bow Tuning Information

Tuning your archery equipment requires you to have a base of knowledge about how an arrow reacts as it leaves the bow. Read the following sources and you'll have all the info you need to tune your bow with the proper bow and arrow combination.

First learn all about arrows at the carbon university. This is a series of articles located on the hunters friend website, it's the most comprehensive and well written source to describe nearly every aspect of arrow technology. In most cases it's more info than you will need but knowledge is power, especially when tuning.

http://www.huntersfriend.com/carbon_arrows/hunting_arrows_selection_guide_chapter_1.htm

The second and equally important document is the Easton's Arrow tuning guide. This is a relatively simple step by step process to help guide you through adjusting your setup to achieve the best arrow flight. Easton recently updated their website and it can be a challenge to find I saved a copy on this site and a link to the Easton site:

Easton's Tuning guide.

Here is the link to the Easton Archery website
https://eastonarchery.com/download/catalogs/Tuning_Guide.pdf

B0w_benders DIY Corner

Many of the folks on archery talks D.I.Y. section have long recognized the level of my D.I.Y. psychosis. I thought it might be fun to share all of the projects I’ve posted on there over the years. At the very least perhaps it will encourage others to build their own doodads and thingamajiggies. If after you have read the Archery talk threads (AT) and still have questions just post them up on the AT thread and I will likely post an answer. Thanks and Enjoy!

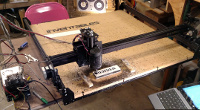
One of the most versatile tools you can imagine. A Computer aided router. It cuts a wide variety of materials and in any shape you can draw digitally. Just a great great too. This one is called the X-Carve. It is sold as a kit that you put together. Check it out at http://inventables.com

http://www.archerytalk.com/vb/showthread.php?t=2461730&highlight=you+have+one+these

https://www.youtube.com/watch?v=M0hzXDWlQow

Magnetic Arrow Rest for a Martin

This is a Magnetic arrow rest that I machined out of aluminum to fit in the standard Martin archery riser

This URL will take you to the Archery talk thread
Finger shooters Magnetic Arrow Rest


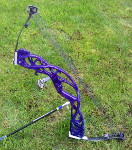
My Art Nouveau Bow

I milled this out of plywood with a router bit in my ShopSmith and a I used a Dremel tool. It was a ton of work and as I suspected the plywood failed about 150 shots in. the next one will be laminated hardwood and using my X-carve to do most of the milling

Click the link for the Archery talk thread, archery talk screwed up the original post and it was never quite the same on the re-post.
http://www.archerytalk.com/vb/showthread.php?t=2001137&highlight=nouveau


Balloon Turner

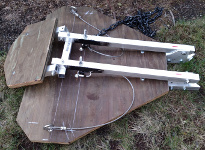
I made from a rotisserie motor purchased from EBay. It moves the balloons at a real slow pace so both adults and the kids can practice at a moving target.

Archery talk thread here:

http://www.archerytalk.com/vb/showthread.php?t=858539&highlight=Balloon

Belt Buckle

This is an Arrow head belt buckle I made out of PVC and aluminum

http://www.archerytalk.com/vb/showthread.php?t=2176205&highlight=Belt+Buckle

Bow Rack and Meat Hauling Rack

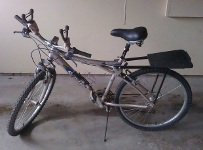
I added a bow rack to my mountain bike and a platform to haul out my meat on the back.

Bitzenburger Fletching Index Pointer

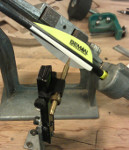
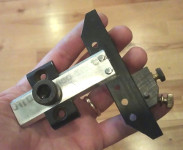
Lets you place a single fletching in the correct position in relation to the other fletches on the arrow.

Archery Talk Link
http://www.archerytalk.com/vb/showthread.php?t=1638286&highlight=Bitz

Recurve Hard Case

Made from 1/4" and 1/2" plywood specifically built for my Martin Aurora recurve

Archery Talk Link
http://www.archerytalk.com/vb/showthread.php?t=1551477

Soft Bow Case

The finger bows that I shoot are all longer than the 42" standard soft bow cases so in order to have one that fits, I had to make my own. I didn't start the archery talk thread but how I built it can be found at this link

http://www.archerytalk.com/vb/showthread.php?t=1336768

Bow Sling

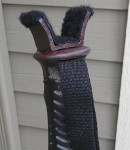
For a western hunter that covers a lot of ground trying to find the elk a bow sling is an absolute must. This one just loops around the cams and allows you to carry the bow hands free

Archery Talk Thread:

http://www.archerytalk.com/vb/showthread.php?t=2077218

Carpet Press

One of my very first AT DIY posts. The carpet press, I use this to press a large stack of carpet and then I use a banding machine to band them into a bale and use it as a target.

AT thread:

http://www.archerytalk.com/vb/showthread.php?t=877299

Combination Tent Crate and Table

I knew I needed something to store my tent in and I also needed another table for the kitchen area so I solved both problems with a crate that converts to a table

The AT Thread:

http://www.archerytalk.com/vb/showthread.php?t=2493033

Folding Toilet

Does it really need any further description?

AT Thread:

http://www.archerytalk.com/vb/showthread.php?t=2510786

Crono Light Kit

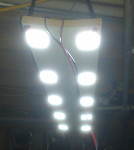
For those times when your Crono just isn't getting enough light. I've had people tell me that a single light doesn't work. The truth is it works just fine as long as you leave the diffuser bars on it.

http://www.archerytalk.com/vb/showthread.php?t=1394468

Propane Tank Wood Stove

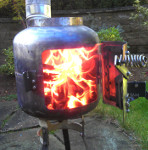
My first attempt at a wood stove, I didn't weld anything on this one it is all made with bolts and the smoke pipe is also screwed in. It is currently installed in my little 10 x 12 hunting cabin and does a great job!

http://www.archerytalk.com/vb/showthread.php?t=2336004

Air Compressor Tank Wood Stove

This is a stove I needed to heat the Elk camp wall tent, It worked great for several seasons but because it was round and big I've since replaced it with a smaller box style stove.

http://www.archerytalk.com/vb/showthread.php?t=2626554

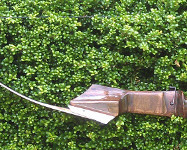
Franken Bow

This was an old Indian XI wood handled riser. I carved the Oak leaf pattern into it and added PSE cam\wheels. It shoots great, but functions better as a conversation piece.

http://www.archerytalk.com/vb/showthread.php?t=1699905

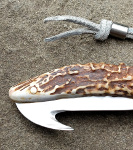
Skinning Hook

A very good friend of mine mentioned how much one of these kooks saved him when skinning his elk. It just made it a lot easier and faster so I thought what the heck I'll give it a whirl. He gave me some knife steel and helped me get it tempered so now I'm fully prepared in the strange event that I actually get an Elk.

http://www.archerytalk.com/vb/showthread.php?t=2125030

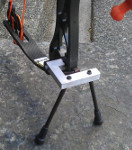
Bow Kick Stand

I knew if I had one of those fold up deals I would forget to take it off and it would screw up my shot.This one is bolted on and functions as a lower stabilizer. Works great. I've refined it some since this picture was taken but you get the idea. I've posted it in several places on AT but here is one of the links:

http://www.archerytalk.com/vb/showthread.php?t=1780770

Laser Aimer Doohicky

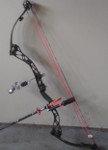
I use this to show students how to aim on a target and how it'll look after they get a lot of practice. It is also an excellent tool to show how a stabilizer works.

http://www.archerytalk.com/vb/showthread.php?t=2369493

Bow Press

This is one of the tools I'm most proud of. Every time I use it I marvel at how simple it is and how well it works. I just love it.Several others have built similar ones too. There is a full article on this site about it too.

But here is the Archery Talk Thread:

http://www.archerytalk.com/vb/showthread.php?t=2167188

Game Cart Waist Belt

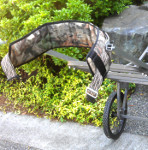
This was an idea I pilfered directly from other AT contributors I thought it was such a good idea that I had to have one. I have to say it saved my bacon especially when hauling my Cougar out of the woods.

http://www.archerytalk.com/vb/showthread.php?t=2045031

Magnetic Quiver

By adding rare earth magnets to the bottom of my quiver tubes my arrows stay secure even when those occasional branches tip it upside down. Warning though it does magnetize your arrow tips so if they come in contact with your steel arrow rest it can affect arrow flight.

http://www.archerytalk.com/vb/showthread.php?t=927796

STS for the Scepter

The Martin Scepter wasn't really designed to have a string suppressor but there was a threaded hole there so... I stuck one in it.

http://www.archerytalk.com/vb/showthread.php?t=929974

SANTA HAWKS, GOOOO HAWKS!

OK you may have noticed that this is not archery or hunting related but, well I just couldn't resist. This took me the better part of the year to find all the material and parts. I'm actually wearing bright green suspenders under all that blue and green. I get a lot of laughs and compliments at the games it's great fun!

http://www.archerytalk.com/vb/showthread.php?t=2356368

Shooting Stick

I modified my climbing/walking stick to function as a shooting stick. I have a 44 magnum that I use to hunt deer. It helps keep me steady so I can extend my affective range.

http://www.archerytalk.com/vb/showthread.php?t=1673692

Release Trainer Practice Air Piston

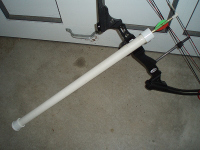
I used a piece of PVC and aluminum to make this release trainer for the kids. I also have larger versions for my personal use.

http://www.archerytalk.com/vb/showthread.php?t=2427092

DIY Sight Light

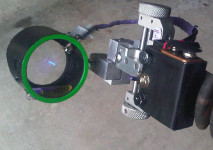
Having a sight light that works off of a 9 volt battery pretty much guarantees that you'll be able to find a battery for it when you need it. I'm pretty ignorant when it comes to electronics so I had to do a bit of research on this one to make sure I was building it right.

This isn't my thread but a lot of good info about the design and some significant improvements by others.

http://www.archerytalk.com/vb/showthread.php?t=2144975

Youth Sight Single Pin Adjustable Sight

I was sick of every single youth bow in my inventory having a different style sight. I built a bunch of these in bulk so I could have the same sight on every bow. Now I can explain how they work to the entire group at once. I think this is one of the cooler things I've come up with but apparently it isn't all that impressive because no one ever comments on these posts.

http://www.archerytalk.com/vb/showthread.php?t=903935

Spine Tester

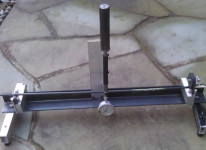
This is a spine tester that conforms to all the standards so I can test arrows against the specifications and I can test for arrow consistency and spine direction. Not all that impressive there are a lot of these and this design is just another of many many similar ones.

http://www.archerytalk.com/vb/showthread.php?t=1984625

Bow Stringer

I made this to help the youth string there bow

here is a YouTube video that shows how it works.

https://www.youtube.com/watch?v=kGbwXc4aYf0

Hanging Stand

I know I know, home built stands are scary!!! I've been using this design for 30 years and not even the slightest mishap.

http://www.archerytalk.com/vb/showthread.php?t=2434228

Warf Bow

Another Indian XI bows there were a lot of them on Ebay for a while and they were selling for a song so I bought several just because I like the design of the riser. In this case Milled out some new limb pockets for the recurve limbs and mounted them to the riser.

http://www.archerytalk.com/vb/showthread.php?t=2272245

Subaru Youth Bow Box

For a while I was transporting my archery equipment back and forth to the range but we started doing a second night so I ended up buying a steel cabinet that we use to store them at the range now.

this thread show a time release photo expose on how it packs up and rolls into the back of the Subaru, I think you'll enjoy it.

http://www.archerytalk.com/vb/showthread.php?t=1450683

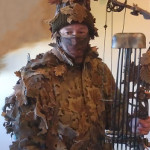
My DIY Camo

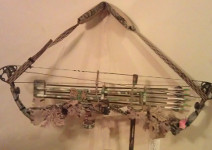
Some folks call it a gilly suite I call it leaves sewn onto my jacket. It breaks up your outline and makes it much easier to get within bow range. Check out the bow too it has camo on it too.

www.archerytalk.com/vb/showthread.php?t=2337314

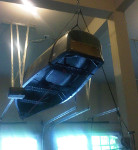
Canoe Hoist

I needed a place to store the canoe and this worked out perfect. I back the vehicle into the garage. I then close the door and lower the canoe onto the top of the car.

http://www.archerytalk.com/vb/showthread.php?t=1497578

Camp Light

it's a 12v camp light that runs off a car batter, in a pinch it can be re-charged with jumper cables. I also have it setup with a solar trickle charge.

http://www.archerytalk.com/vb/showthread.php?t=2346974

Tent Box

After seeing my old tent take a beating in the bags it came in I decided to take a little bit better care with this one. I built this box and tubes to store it all completely.

http://www.archerytalk.com/vb/showthread.php?t=2308968

Hand Screws

For those times when you need to be able to loosed a bolt or a screw by hand but you don't have a welder to attache a handle to a bolt.

http://www.archerytalk.com/vb/showthread.php?t=1986314

Franken Bow

This is a Martin ShadowsCat riser, Martin Elite limbs, Scepter Fury X-cams. All bundled together to make a 50" Frankenbow. Excellent shooting finger bow!

http://www.archerytalk.com/vb/showthread.php?t=2397120&highlight=alive

The NWSpinner

Ever wonder what started the whole NWSpinner thing? Well I can tell you it didn't look at all like this, take a look at this link it is the first NWspinner thread

http://www.archerytalk.com/vb/showthread.php?t=1375478

The Emerald

I'm not sure if I ever posted the Emerald on the AT forums but you can watch the introduction video I have posted on the home page of this sight.

http://nwspinner.com


Youth finger tabs

I cut these out with my X-Carve. Rather then spend a bunch of money on cheap finger tabs for my youth program I decided to make some higher end tabs that actually cost me a lot less money but a little of my free time.

AT thread:
http://www.archerytalk.com/vb/showthread.php?t=3601762&highlight=youth+tabs

Coat Hanger for the wall tent

Being in the Pacific North West it is almost a certainty that your outer garments are going to get wet so having a place to hang them is critical. We camp in a wall tent so here is my PVC pipe solution that outfits the entire parameter of the tent with convenient coat hooks.

AT thread:
http://www.archerytalk.com/vb/showthread.php?t=2986793&highlight=Coat+Rack

Redneck Armoire

I like to pack my stuff in plastic bins it easier to organize, inventory and store. The problem is that stacking them in the tent is terribly inefficient because what you want is always in the bin on the bottom. The armoire separates them so it is easily to rummage through any box without having to unstack them.

http://www.archerytalk.com/vb/showthread.php?t=4790753

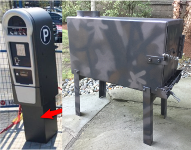
Wall Tent Woodstove from a Parking Meter

Had to sell my old Wall tent woodstove it was a bit too big and it was round so it didn't pack as nicely. This one was made from a stainless steel parking machine base, and it works great!.

https://www.archerytalk.com/vb/showthread.php?t=5713191&p=1110653277#post1110653277

No Weld Bowpress

This is not an Item I sell. I'm posting it here for do it your self folks to get the instructions on how to build it.

here it is on archery talk too: https://www.archerytalk.com/vb/showthread.php?t=2167188

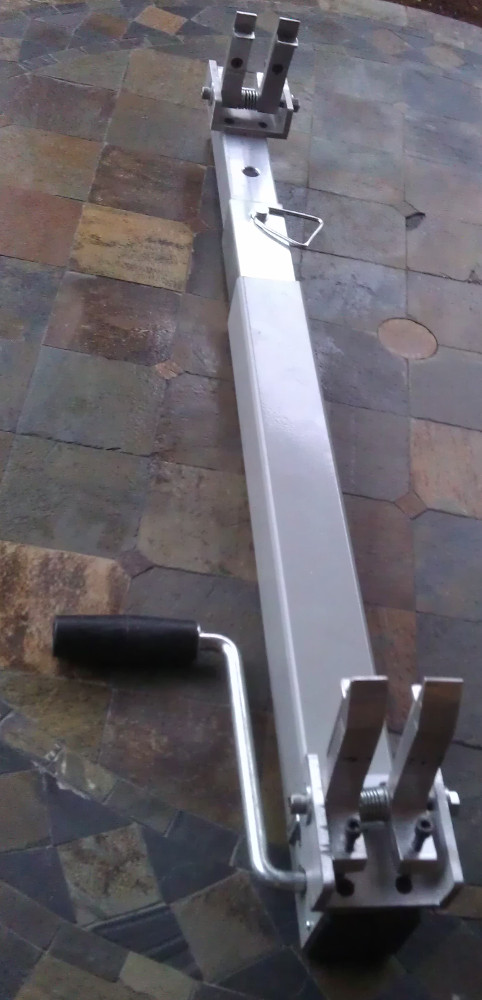
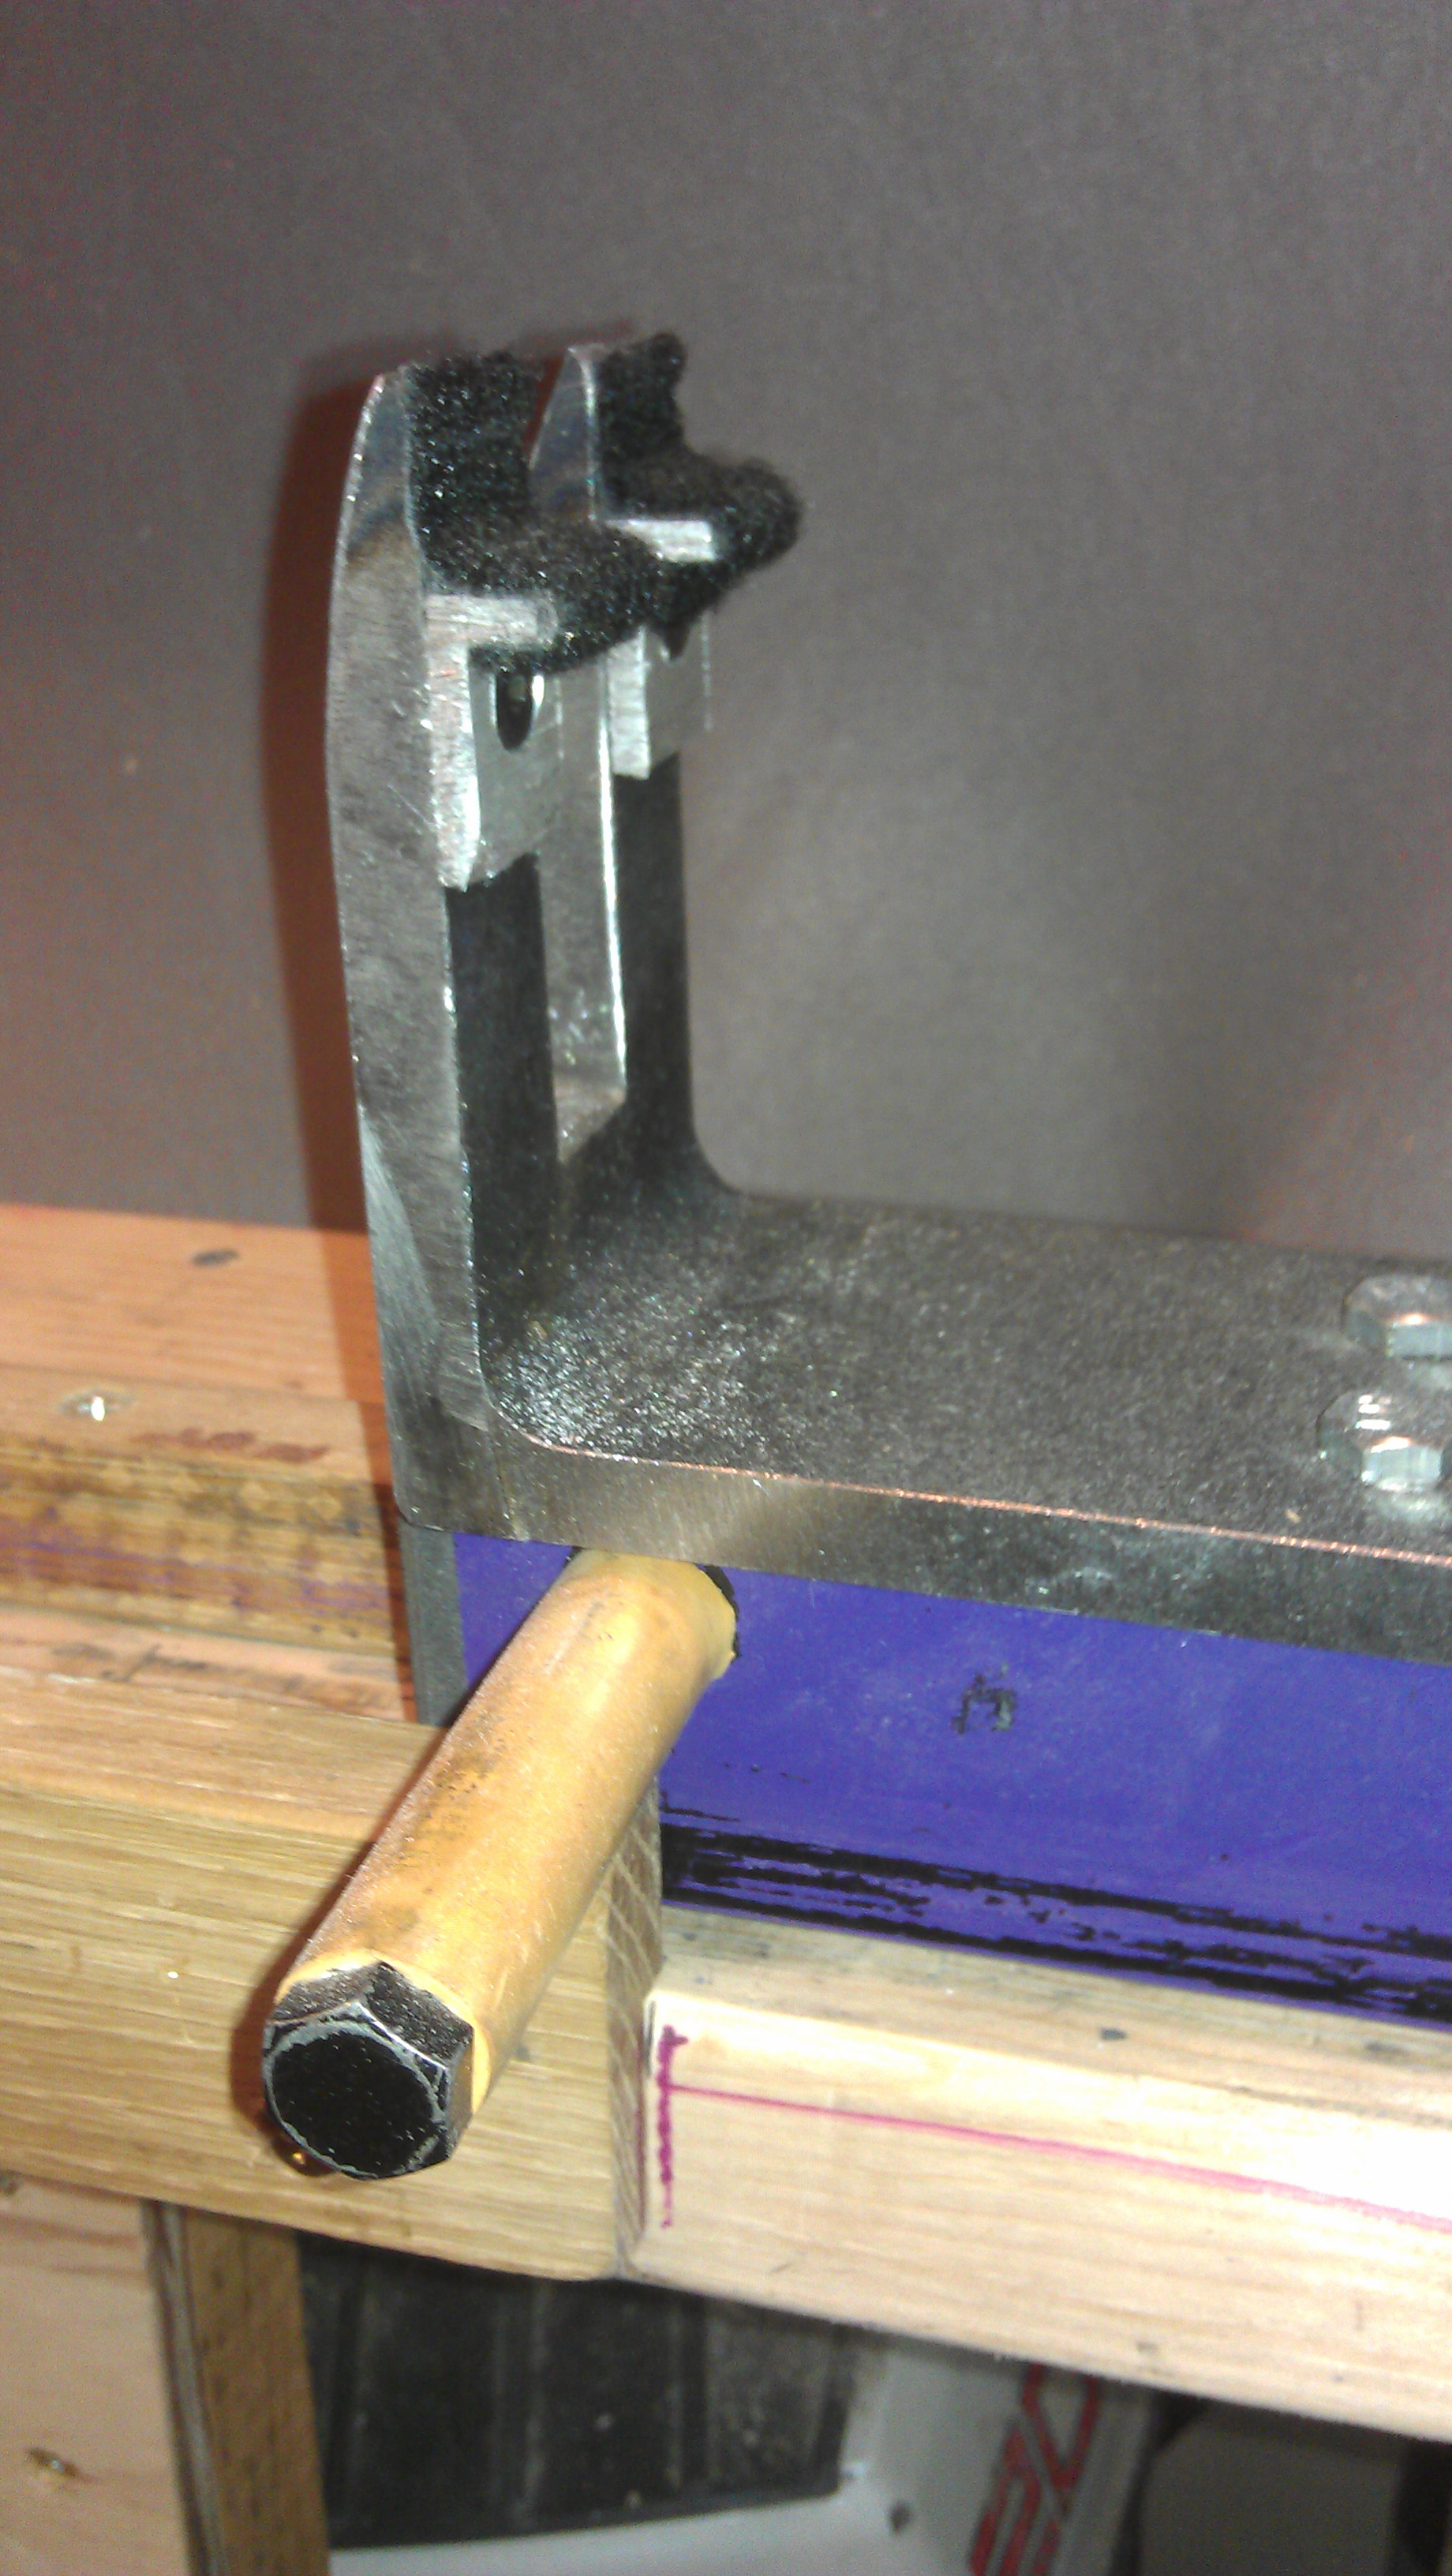
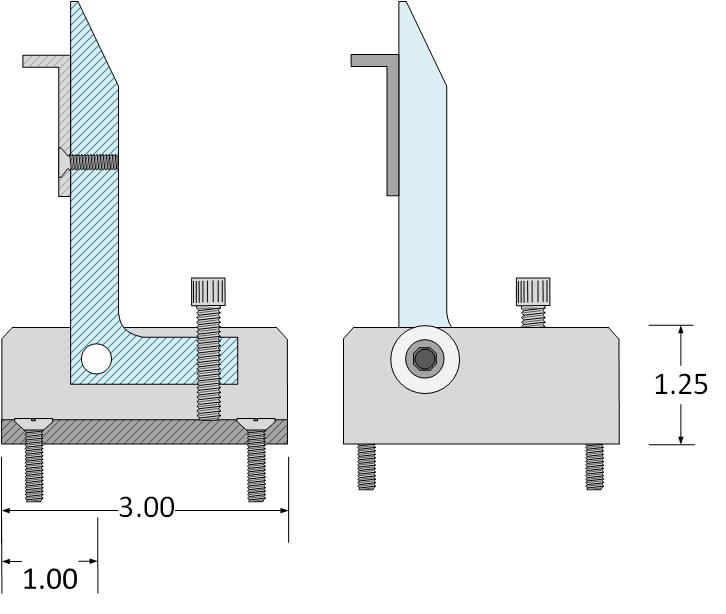
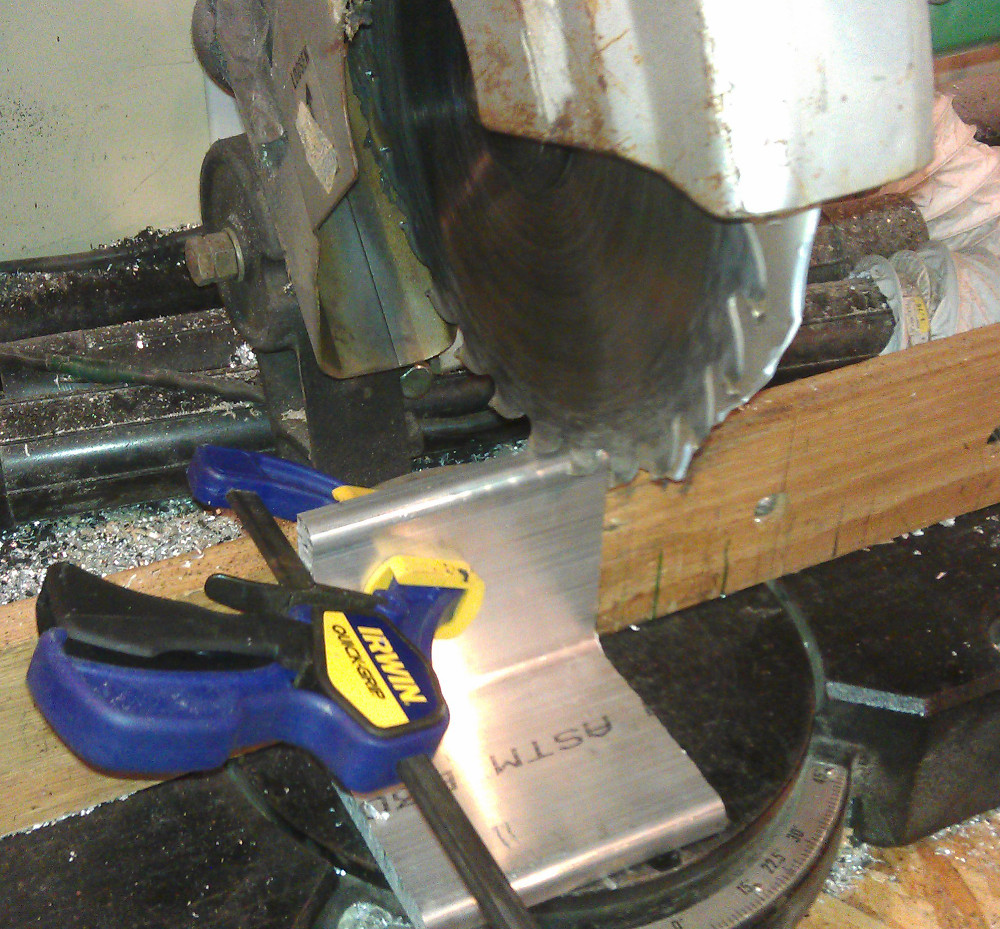
Not having a welder is a serious liability when trying to build a bow press. After looking at the pipe clamp press on the archery talk forums I decided a better solution would be to mount the same sort of fingers on a trailer jack. This gave me the benefit of having enough travel to completely disassemble a bow and yet it was inexpensive and relatively easy to build. Best of all it required no welding. I did a lot of experimenting with steel fingers using grinder cutting wheels and a bench grinder but what I finally settled on was this design that is made completely out of Aluminum. I prefer aluminum to steel because it can generally be milled using the same power tools you would use for in a wood shop. The finger design was completely cut out using my chop saw a hack saw and a drill press.

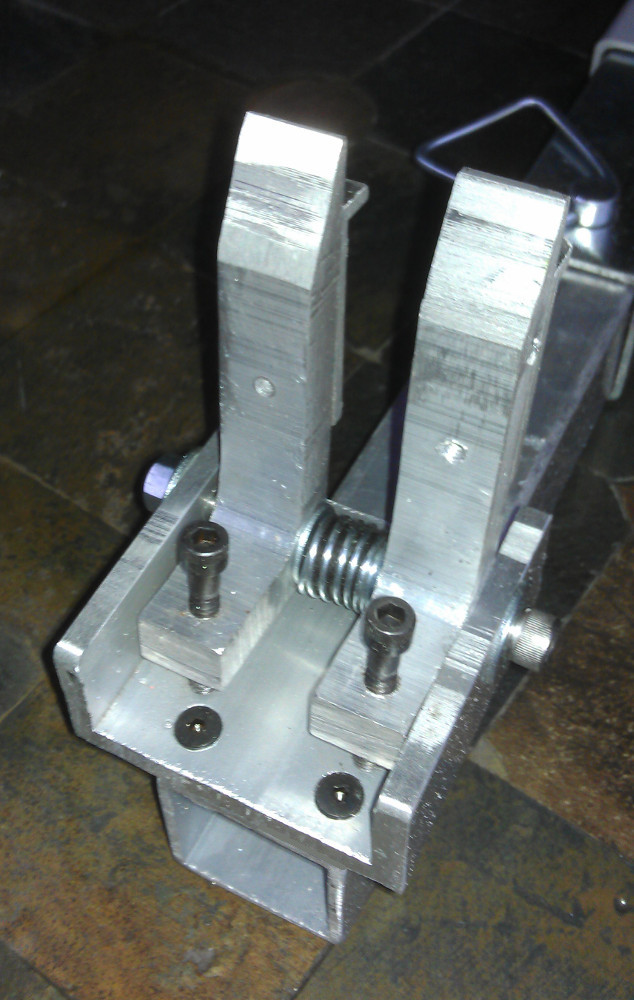
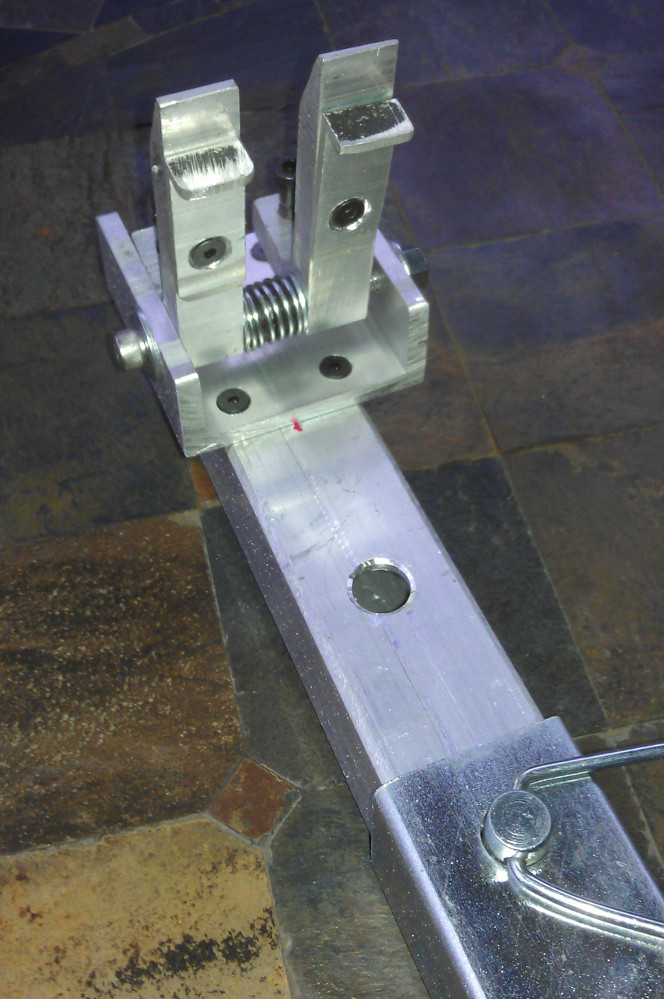
Here is a list of tools and materials you’ll need:
> Chop saw or table saw.
> Drill press
> Hacksaw
> Belt sander (Optional if you want smother finishes.)

9/16 drill bit

1/4 drill bit

#9 drill bit - for holes that the 10-24 bolts fit through

#7 drill bit - for holes to be threaded with 10-24 taps usually come with the correct drill bit.

#25 drill bit - for holes to be threaded with 1/4-20

F – drill bit - for holes to be threaded with 5/16-18

5/16 drill bit

5/8” drill bit - for counter sinking the screw holes

3/4 drill bit - with a 1/2” shank so it fits your drill press chuck.

5/16-18 Tap and Die

1/4–20 Tap

10-24 tap
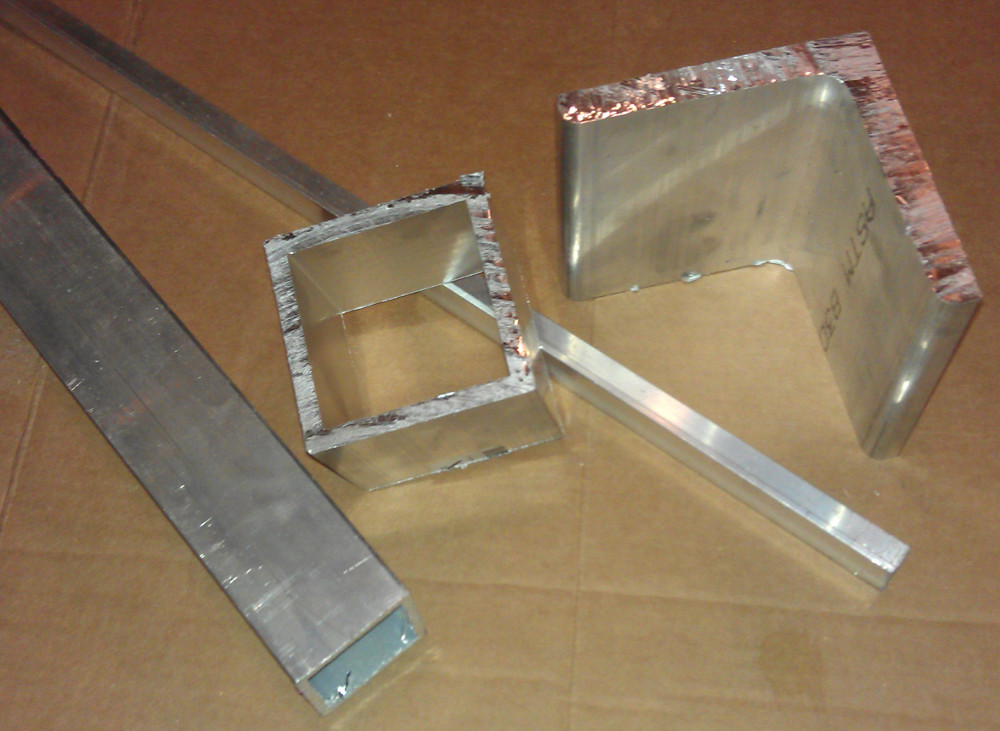

And here are the materials you will need:

4 – 5/15-20 x 3.5” bolts Socket head

8 – 1/4-20 x 1/2” bolts flat Allen head

4 – 1/4-20 x 1” bolts Socket head

4 – 10-24 x 1/2" flat Allen head

10 - Washers for the 5/16” bolts

4” x 4”x 1/2” x 12” long Aluminum L angle

1/2” x 1/2” x 1/8” x 12” long Aluminum L angle

3” Square Aluminum tube with 1/4" wall thickness 12” long

1 3/4” Square tube 1/8” thickness walls 18” long

2- 3/4” x 1” compression spring I think McMaster-Carr #9657K314 will work but I bought mine at Lowes.

4- 1/2" X 1/4" Bushing with a 5/16” center hole

Spray paint can with the color of your Choice if you want it a pretty color…
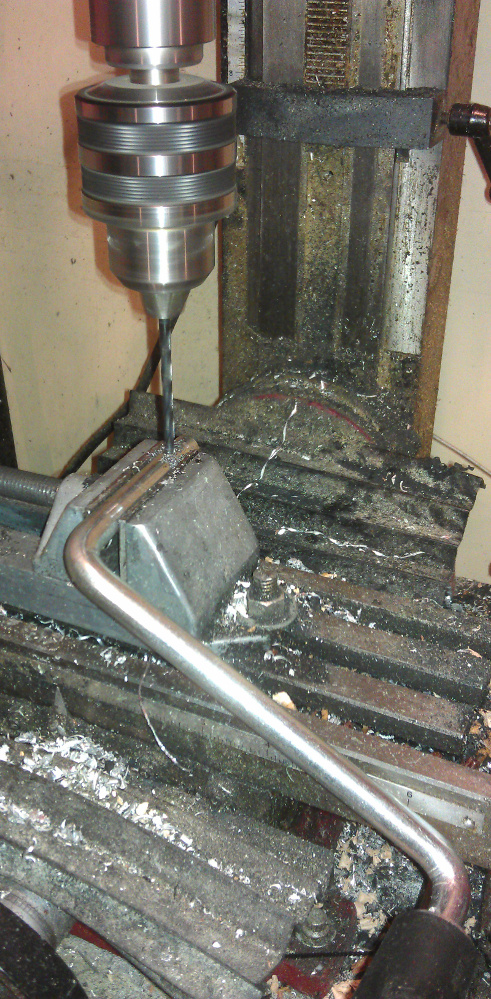
Step 1:

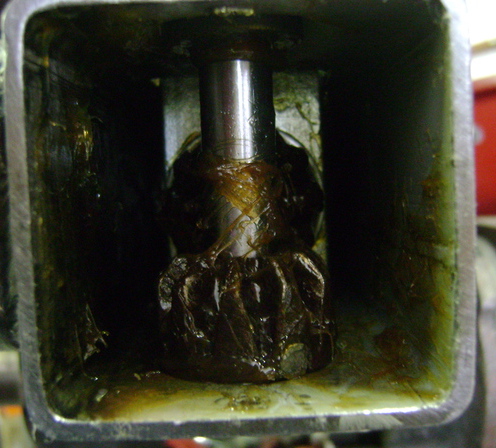
Swapping out the crank to the opposite side of the jack so that a clockwise rotation compresses the bow. This is optional but make the operation a lot more intuitive.

1) Remove the screw and grease fitting that hold the plastic end cap in place

2) Using a nail or a punch and a hammer pound the retaining pin out of the gear and crank. Extract the pin from the inside of the jack as it drops out.

3) Leave the gear in place and pull the crank out.

4) Drill a whole with the 9/16 drill bit about 5/8” from the end of the crank

5) Slide the crank back in on the opposite side of the jack and replace the press fit pin through the gear and into the new hole you just drilled.

6) Return the black end cap and grease fitting to the end of the jack.

Now when you crank the handle clockwise it will compress the jack.
Step 2:

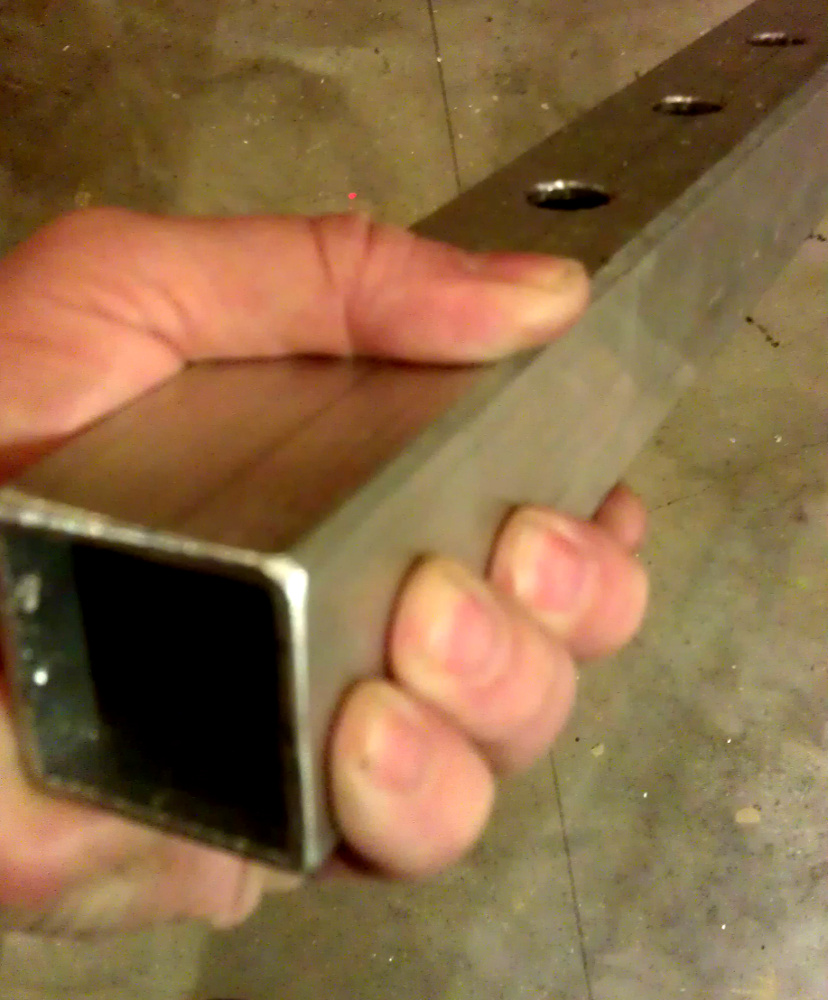
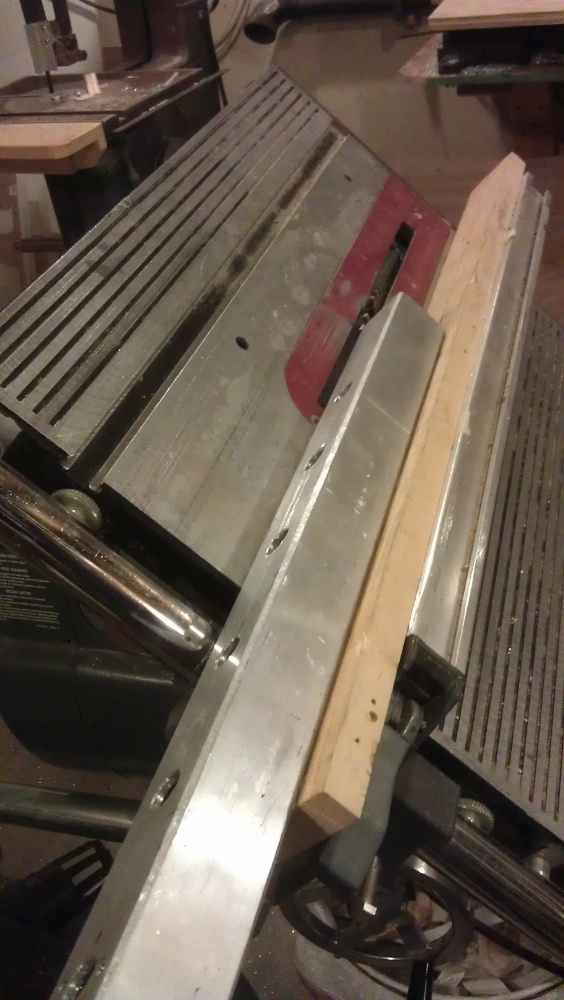
Creating the insert that fits into the end of the jack. You can use the foot that comes with the jack by cutting off the base but I found that it fits a little sloppy and isn’t really long enough to handle the longest bows. So I use the 1.75” Square Aluminum tubing.

1) Set your table saw up at a 45 degree angle and chamfer each corner of the insert back about 1/8” This allows it to slide into the jack base.

2) If it fits real tight you may need to remove burs on the inside of the jack with a file.

3) Drill 4 holes 3” apart starting 4.5” on center from the end of the insert.

Step 3

Building the finger Assembly
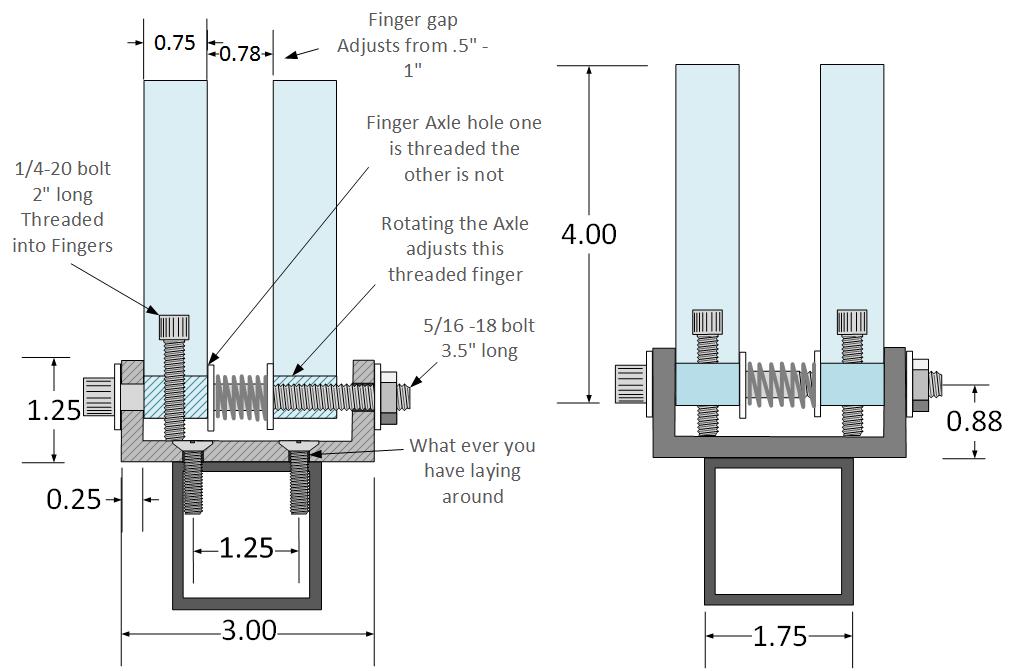


3.A Cutting and drilling the fingers.

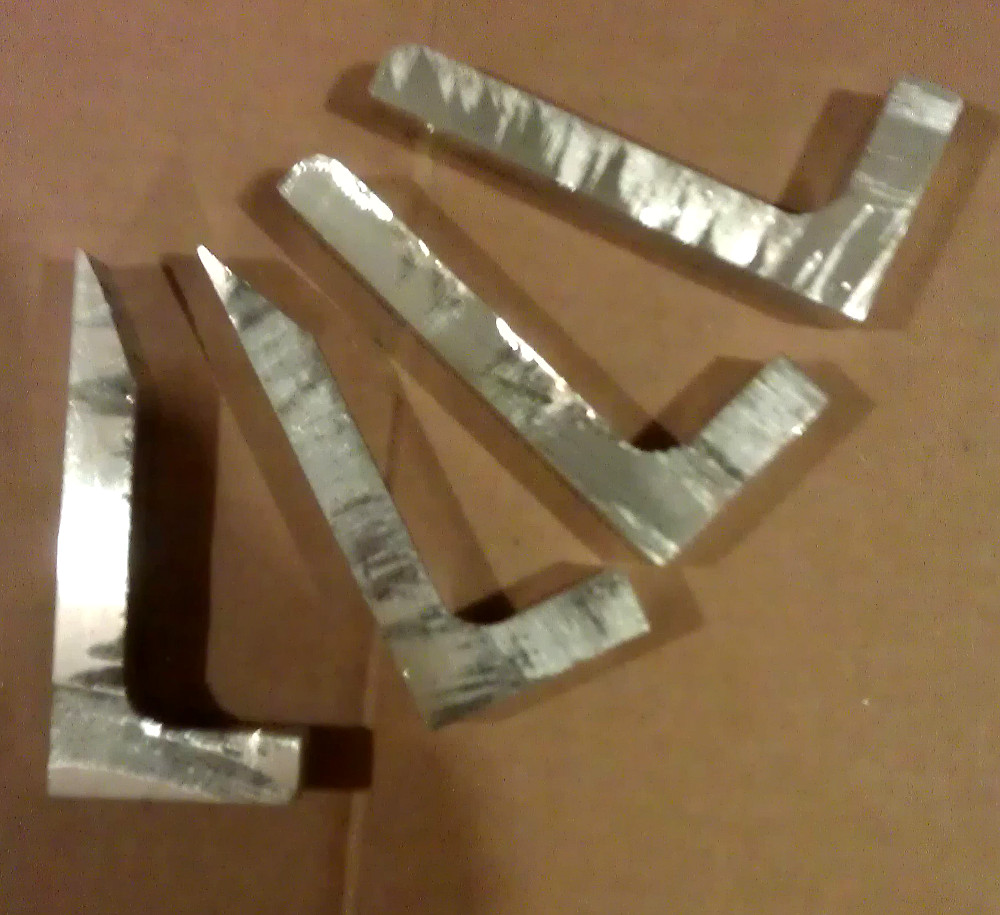
1) Using your chop saw cut the 4”x 1/2” Aluminum L angle in 4 pieces that are 3/4” wide. If you don’t like the rough finish cut them marginally wider so you can sand or mill the finish smooth.

2) Cut one side of the L angle to 1.75” long.

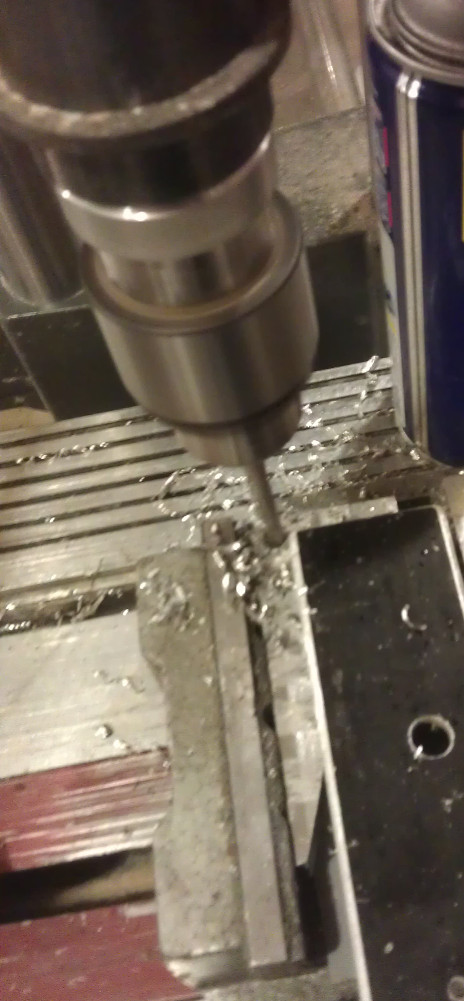
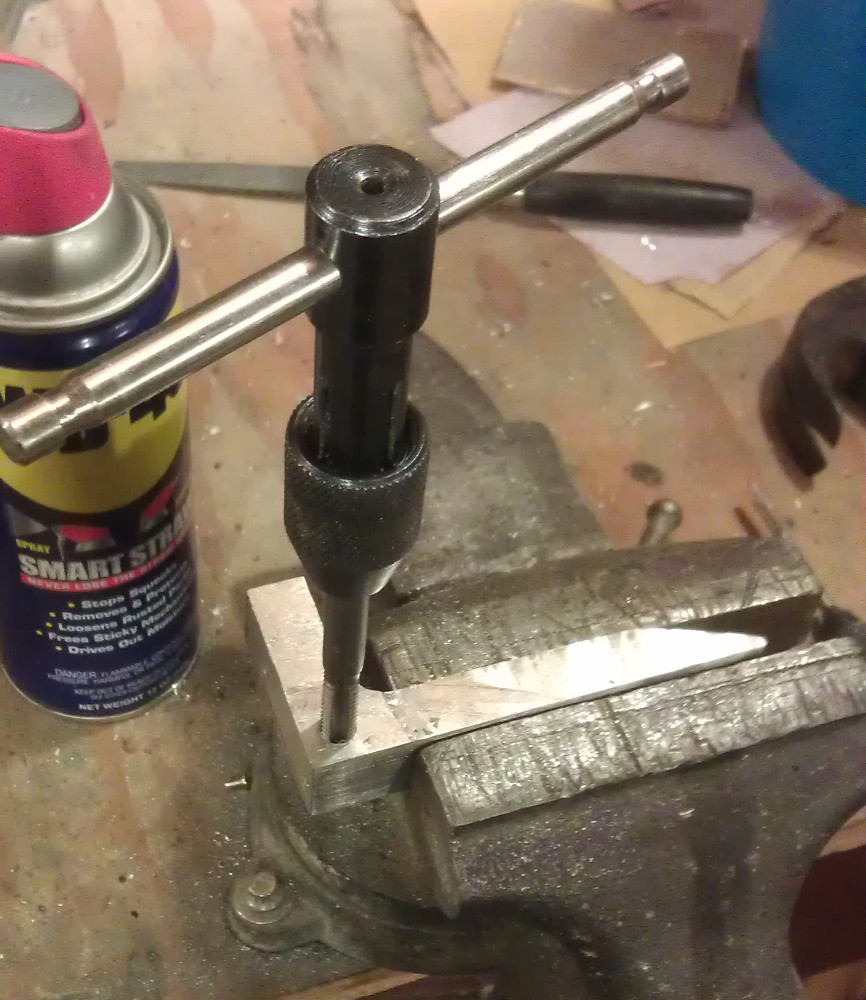
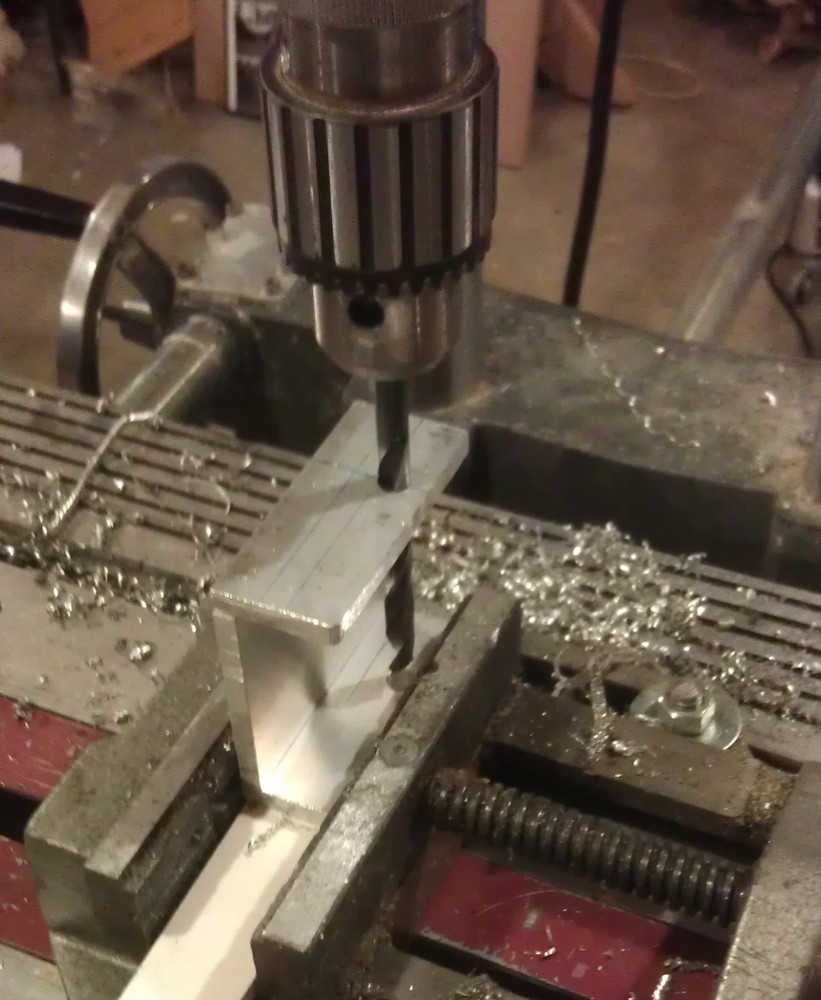
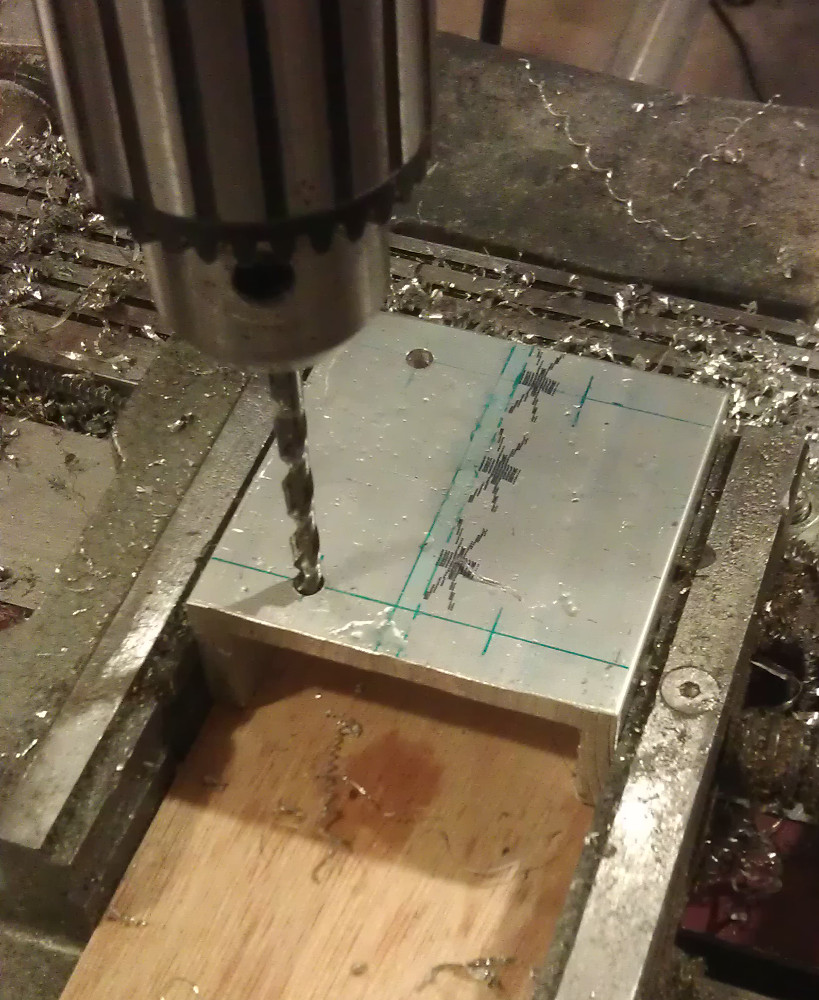
3) Setup your drill press with a clamp so you can drill all four finger with the F drill bit (the one for 5/16-18 tap) in the exact same place on each finger. By drilling all 4 exactly the same you ensure that the hole is consistently in the same place. Note when drilling metal you get a much cleaner hole and there is a lot less wear and tear on the equipment if you lubricate the bits and parts as you are drilling with cutting fluid or WD40 will also work.

4) Enlarge the hole on 2 of the fingers with the 5/16” drill bit

5) The two fingers that were not enlarged, using the 5/16-18 tap cut threads in the hole at the base of the fingers.

6) Again with a clamp on your drill press set so you can drill a consistent hole using the #24 drill bit (the one that came with the 1/4-20 tap) drill a hole in the foot of each finger centered 5/16” from the end

7) Using the 1/4-20 tap cut threads in each of these holes. Use plenty of cutting fluid or WD40 so avoid breaking the tap.

8) Using the number #7 drill bit drill a hole in the finger centered 1” from the top that you can use to bolt the limb shelf onto.

9) Using the 10/14 tap cut threads into the limb shelf hole.

10) Using the chop saw cut the 1/2” x 1/8” L angle to 3/4” wide pieces

11) Using the #9 drill, drill a hole in the center of one side of each of the limb shelf pieces.

12) Using the 10-24 screws bolt the limb shelf to the fingers.

13) Thread in the 4 -1/4-20 x 1” bolts into the fingers feet

Your fingers are now complete!
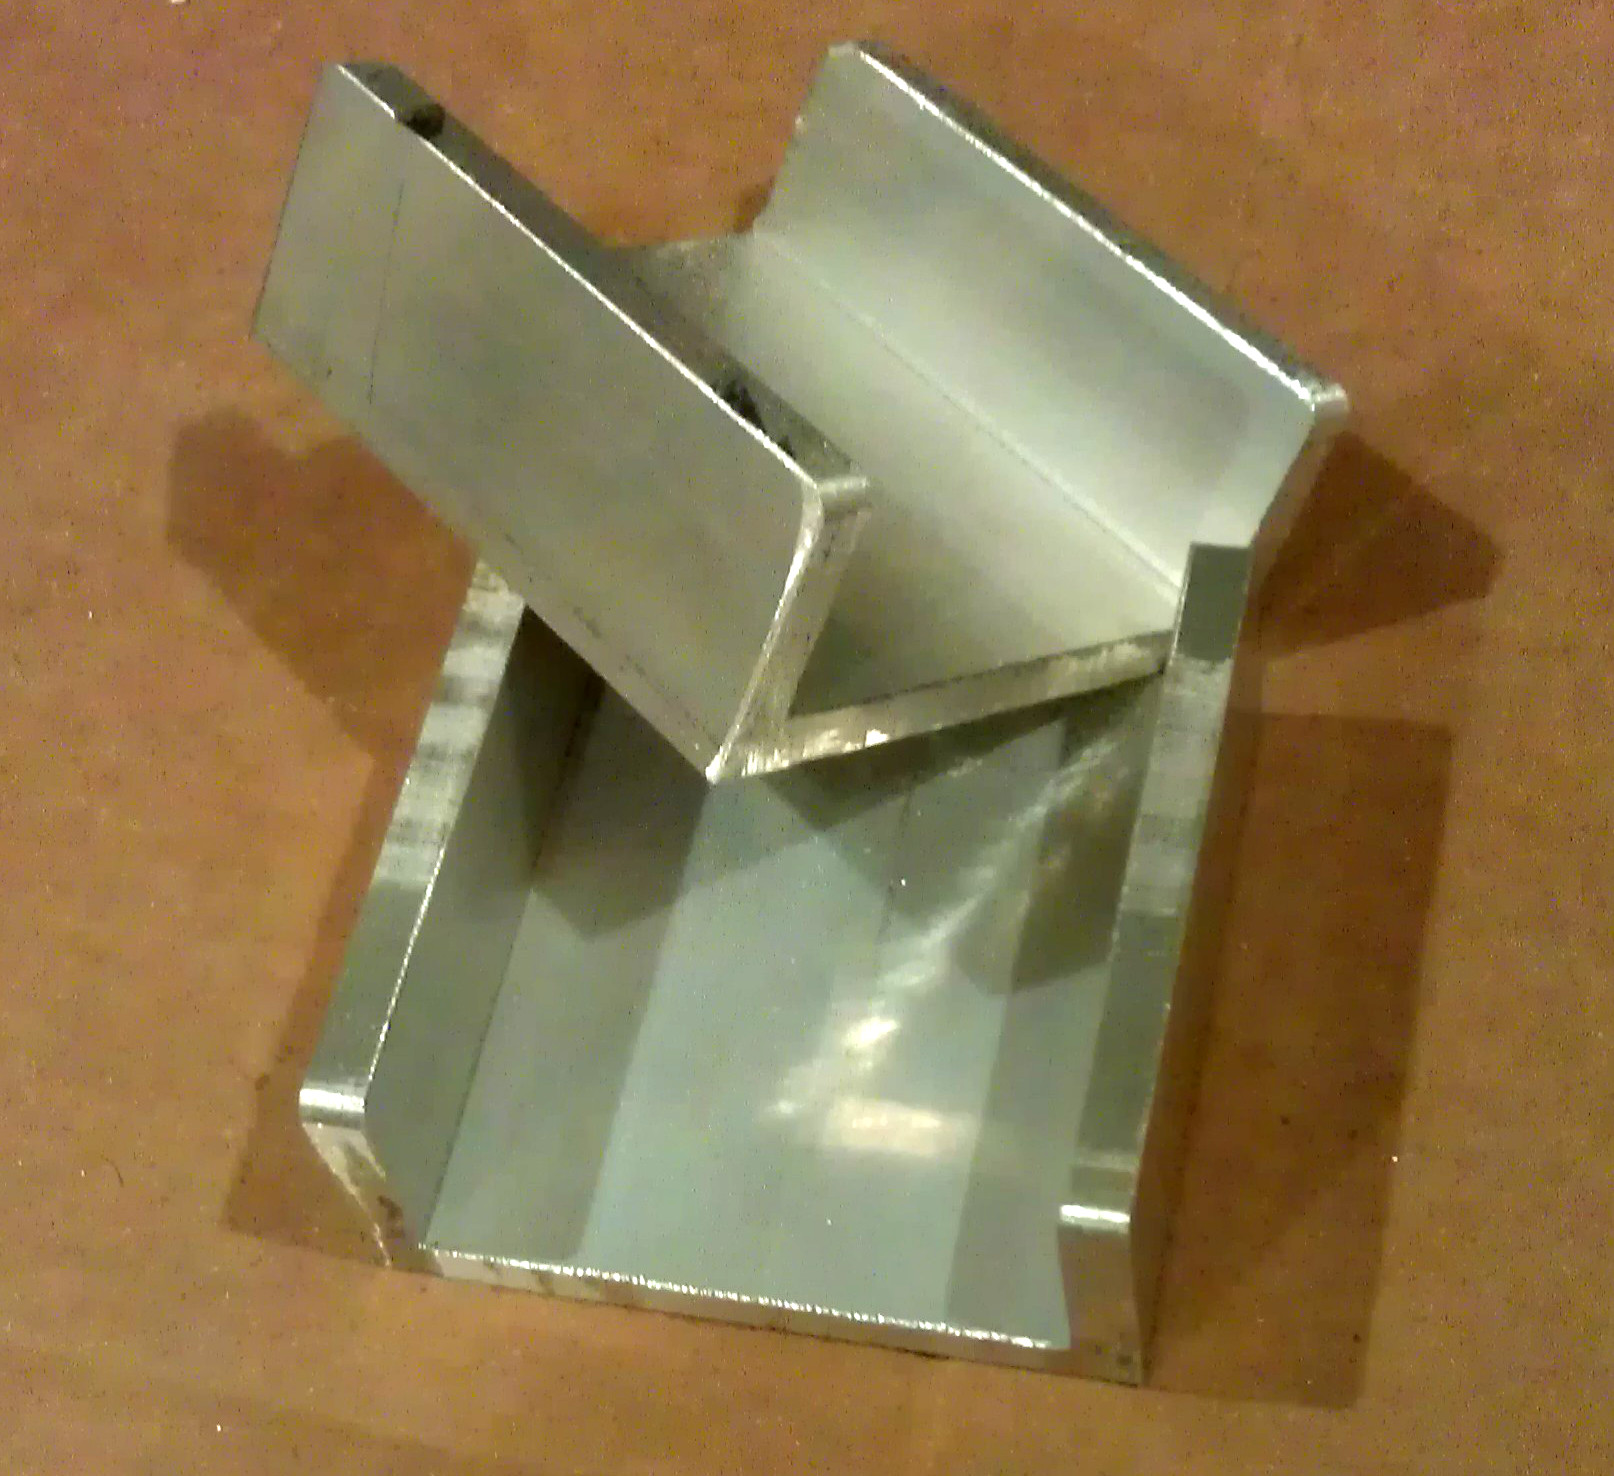
3.B Making the finger bases and assembling the fingers.

1) Using the chop saw cut a 3” long piece from the 3” square tube.

2) Now turn it sideways and with the shop saw cut the tube so that you have a U channel with 1.25” side wall. You’ll need to cut the other side so it too has a 1.25” side wall. You should now have 2 pieces that are 3”x3”x1.25”

3) Using the 5/16 drill bit drill a hole in the 1.25” wall 2.125” from the end and 5/8” of an inch up from the bottom. This is the hole that the 5/16” bolts\shafts will got through to hold the fingers in place.

4) Using the 1/4” drill bit drill 4 holes in the base so that the finger base can be bolted to the insert and the Jack. Holes can be drilled 1/2" From the end and 1. 25” apart on center

5) Clamp the finger plates in place on the insert and on the jack frame and drill the mounting holes with the #24 Drill bit.

6) The 8 holes you just drilled now need to have threads cut with the 1/4-20 tap

7) Using the 1/4-20 bolts mount the finger bases to both the insert and the Jack.

8) Add a washer to the 5/15”x3.5” bolt and then lace it into the finger base now add the finger with the enlarged hole.

9) Add another washer and both plastic bushings

10) Slide the spring over the plastic bushings and then add another washer.

11) Compress the spring enough to slide the second threaded finger in-between the last washer and the outside finger base wall.

12) Rotate the finger shaft bolt to thread it into the second finger, thread it through until the bolt head is flush with the outside of the finger base. Now add a washer on the far outside of the finger base and thread on the shaft nut.

13) Make sure the finger shaft bolt rotates freely and then with a hammer mushroom the end of the bolt to prevent the nut from coming back off. A little epoxy wouldn’t hurt either.

14) Now by rotating the shaft bolt you can adjust the width of the fingers.

Step 4:
Cutting down the pin so that it fits in the jack when it is resting on the table.
Using a hack saw cut the adjuster pin to 2 7/16" long

Once you have done this to both ends of the press your press is now done!
Subcategories